
-60°SIXTY BELOW
Antarctica, 1971. A meteorite has fallen. Six rounds to build the research network that reaches it first.
A heavy euro for demanding players: a deck you push your luck with on every draw, workers that stay where you put them for the whole game, and a network of stations on a map revealed as you play.
Pre-order: we ship as soon as it lands.
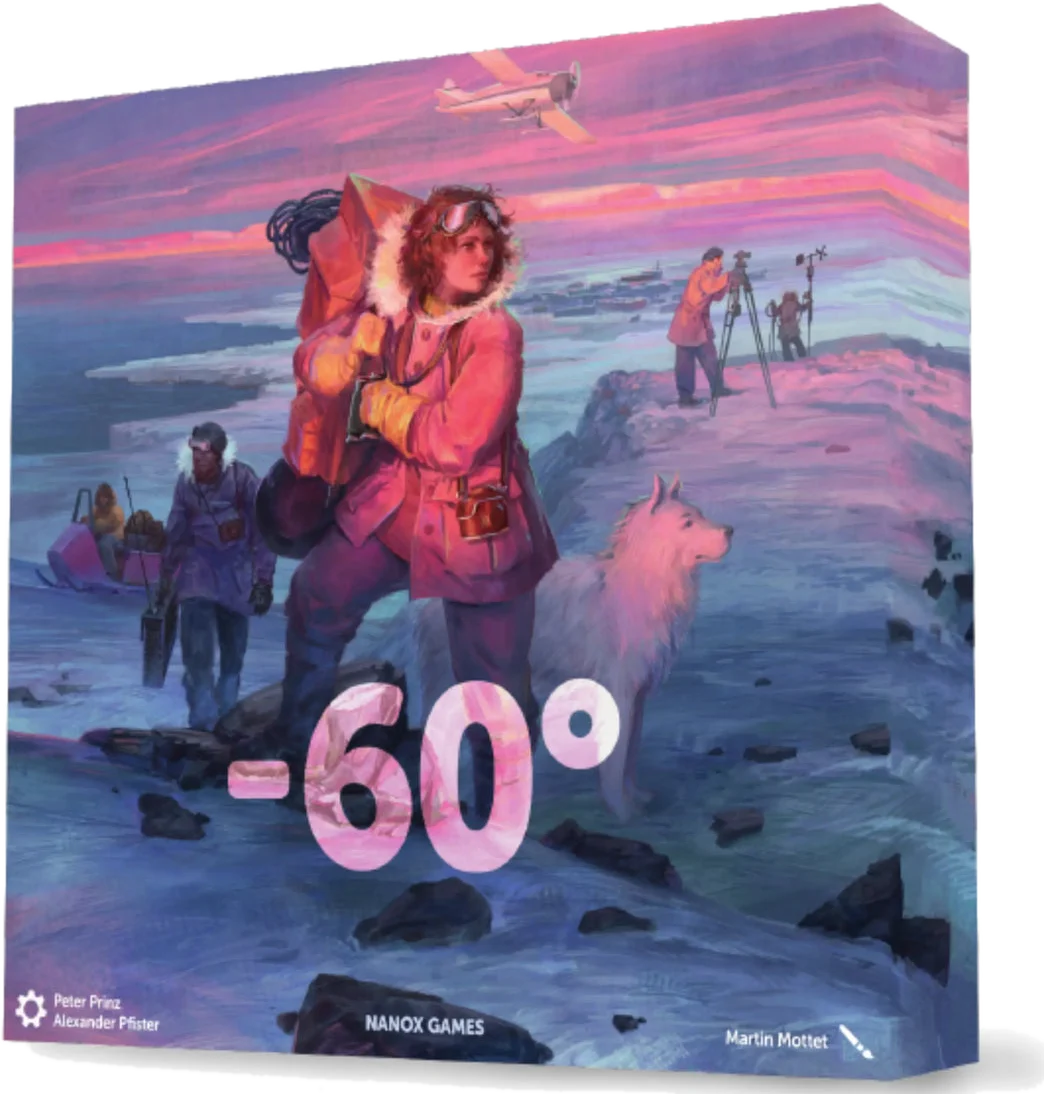
The game in eight answers.
The questions an experienced player asks first. Each answer has the reason behind it and a link to where we go deeper.
At its heart, a personal deck you push your luck with and workers that stay on the board. Around it: a network of hex tiles, an Experts engine, Milestone goals and end-game bonuses.
How a round works ↓No single rule is hard. The depth comes from five tensions that pull you in opposite directions at the same time.
The five tensions ↓Nobody attacks anybody. You take action spaces away from each other for the whole game, compete for the best Experts and map areas, and with some meteorites the most Presence wins points.
Explorers that never come back ↓Luck lies in the order of your deck and in the cards you draw from the common deck. But you always know how many Storms are left, the cards you buy go on top of your deck, the Forecast saves a draw, and some upgrades let you burn Storms for good. No dice.
Try a draw yourself ↓Meteorite (one of 6), Expert action tiles, Experts drawn from a bag, map areas and Station Sites change at every setup.
What changes, in numbers ↓Effects are almost all shown with icons, with an official reference sheet. BGG: some necessary text, easily memorized.
See how much text is on a card ↓Arka occupies spaces like an opponent, builds Stations and scores her own Milestones against you.
The solo special ↓The map and the Experts board scale with the number of players. Preparation and Planning are played by everyone at once: waiting only happens in the Action phase.
The four phases ↓What you actually play with.
Hex tiles, miniatures and cards: no dice, no board in one piece. Here is what each thing is.

The map is built from hex tiles and grows as players explore it. The pink tile with the crater, at the bottom, is the Meteorite: the place everyone is heading to.
The hooded figures are Explorers, 17 per player: each one stays where you put it until the end of the game. The tents are Stations, 5 per player. On top of a Station you stack its Upgrades, level one, then two, then three.
At the top, a player tableau in two layers, so the pieces don't slide. On the left, coins.

On the left, Expedition Cards: people, sled dogs, planes. At the bottom of each card, the bonus that changes with how many Storms you drew. On the right, the Storms: the screen with the lightning bolt.
How much text: a line at most, like «Discard Storm or gain one Material». Everything else is icons.

140 miniatures in RE-Wood, in four player colours: Explorers, Station tents and the Upgrades that stack on top.
Publisher images: the first two are 3D renders, the third is a photo of the miniatures. Final components may differ slightly.
The pieces, in one minute.
Twelve words are enough to follow the rest of the page. Whenever you meet one underlined below, tap it and its meaning comes back.
TableauTableau
Your two-layer player board. On top, three Bases; below, a row of spaces for Expedition Cards; on the side, your Experts and your reserve.
Expedition DeckExpedition Deck
Your personal deck. It starts with 10 cards, 5 Storms and 5 basic Expedition Cards, and grows with the cards you buy, which go on top.
StormStorm
A card that covers one of your Bases and switches off its bonus. But it also gives you Energy: 2 with one Storm, 5 with two, 11 with three or more.
Expedition CardsExpedition Cards
Cards you line up on your tableau. Each has two bonuses: you get the top one with 0–1 Storms, the bottom one with 2, nothing with 3 or more.
BasesBases
Three spaces at the top of your tableau. Investors give coins, Radio moves you along the Expedition track, the Hangar buys Stations or turns Energy into material. They only work if no Storm covers them.
ExplorersExplorers
Your workers. You get 2 per round. When you place one on an action space it stays there until the end of the game: that space is closed for everyone.
StationStation · Station Site
Your outpost. You build it on a hex tile, the Station Site, next to an explored area; the more Engineers you have, the better the sites you can use. Stations can be upgraded three times.
PresencePresence
How many of your Explorers and Stations surround a spot. Upgrading a Station, or using the meteorite, requires enough Presence around it.
ExpertsExperts
Engineers, Investors and Radio Operators you hire at the Harbor and place in the three columns of your tableau. Each one strengthens a Base; the 4th and 5th of a column score points.
RadarRadar Tile
A token you spend to fire the radar effects of your cards and buy cards from your personal display. Or, at any moment, you trade it for Energy, coins, cards or material.
Project CardsProject Cards
Scientific projects you buy and keep beside your tableau: permanent effects, private action spaces, end-game points.
MilestonesMilestones
Goal cards scored after rounds 3, 5 and 6. You choose which one to score each time, and every card can be scored only once.
The resources are three: Energy, coins and construction material.
Six rounds. Four phases. One decision that weighs in each.
The first two phases are played by everyone at the same time; the third one in turns. The fourth only comes after rounds 3, 5 and 6.
I · Preparation: draw until you dare
You draw one card at a time from your . If it is one of your , it goes into the first free space of the row on your . If it is a , it goes onto one of your free and covers it.
After each card you choose: stop, or draw again. If you draw a card that has nowhere to go, you discard it and your drawing is over. A Forecast tile, if you have one, lets you throw away a card without stopping.
Then you cash in: Energy for the Storms, the top or bottom bonus of your Expedition Cards depending on how many Storms you have, and the bonus of every Base that is still uncovered.
Storms are fuel: three of them give 11 Energy. But they switch off your Bases and your cards. How much do you risk for that Energy?
II · Planning: new hands, new options
You receive 2 new . Then you draw 5 cards from the common deck: you keep one for free, or two if you pay 2 Energy. The cards you keep go into your personal display: they are not yours yet, they are the cards you will be able to buy during the round.
Is a second option worth 2 Energy you need for everything else?
III · Action: one move at a time, until you pass
- Use an action spaceYou place an on a free space, take the bonus printed under it and do its action. The Explorer never leaves. Spaces are on the Harbor (where you hire ), on explored areas, on the meteorite, on Station Sites and on your . Exploring the next area of the map opens it for everyone and gives you a .
- Build a StationIf you bought one with your Hangar, you place a Station Site next to an explored area and put your on it. The site becomes a new action space for everyone, and you immediately do the action of an adjacent area.
- Upgrade a StationThree levels, in order. You need construction material and enough around the Station. Careful: −3 points for each of your upgraded Stations that touches another of your upgraded Stations.
- Use a RadarYou fire the radar effects of your cards and buy from your personal display. Expedition Cards you buy go on top of your deck: you will draw them first next round.
- Pilot or MechanicA strong one-shot action, if you hired one of these Experts.
- PassYour cards go to your discard pile. You may keep one unused Explorer for the next round.
Every Explorer you place is gone for good, and the space is gone for everyone. Take the space you need now, or the one an opponent is about to take?
IV · Milestone: three checks, no second chances
After rounds 3, 5 and 6 everyone scores one of the . You choose among three cards: your personal one, drafted at the start, and two common ones. Each card has conditions for each of the three checks: meet the first and you take the lower points, exceed it and you take the higher. A card you have scored is no longer available to you.
Cash in a Milestone early for sure points, or save it for later, when you can exceed it?
End of the game. After round 6 you score points from nine sources: Experts, the Expedition track, Station Sites, Stations, upgrades (minus the penalties), Expedition Cards, Projects and Milestones. Ties go to whoever has more coins.
Prepare your first expedition.
This is the deck everyone starts with: 5 Storms and 5 Expedition Cards, shuffled. Draw, decide when to stop, and see what you cash in. The rules are the real ones; the exact bonus of each starting card is printed on the card, so here we tell you which bonus you get, not how much.
What changes later: the Expedition Cards you buy go on top of your deck, so next round you know exactly what you will draw first. Upgrading a Station to level two gives you a fourth Base: one more place to park a Storm.
Advancing on the Expedition track (thanks to the Radio Base) frees more spaces in your row: more cards before you are forced to stop.
A full game, explained as it's played.
Rahdo Runs Through plays it through and comments every choice: the fastest way to see whether its rhythm is yours. The video is in English.

Five tensions that pull against each other.
None of these rules is hard on its own. The game is in how they push you in different directions at the same time.
Storms: the risk that pays
Energy grows faster than the number of Storms (2, 5, 11), but every Storm switches off a Base and, from the second on, lowers or cancels the bonus of your Expedition Cards. A big round of Energy can fund your whole next turn, or leave you with nothing else.
The dilemmaBuild a deck that avoids Storms, or one that knows how to use them?
Explorers that never come back
In most worker placement games your workers come home every round. Here they stay where you put them until the end. Every action closes a space for the whole game, and the board fills up as the map grows.
The dilemmaSpend Explorers on immediate gains, or on the spots that will give you Presence later?
The network: close, but not too close
To upgrade a Station you need Presence around it, so you want your pieces clustered. But at the end, every upgraded Station touching another of your upgraded Stations costs you 3 points. The map becomes a spacing puzzle.
The dilemmaConcentrate to upgrade sooner, or spread out to avoid the penalty?
The Experts engine
Each Expert you hire makes a Base produce more: more coins, more steps, more Engineers to reach better Station Sites. Hiring early costs actions you'll miss now; hiring late gives you an engine that doesn't have time to run. And the 4th and 5th Expert of a column are worth points.
The dilemmaSpecialise in one column, or keep all three Bases growing?
Timing: buying is an action too
You can only buy cards by spending a Radar, and doing so takes your turn. Cards you buy feed the next Preparation; Projects work from the moment they hit the table. Meanwhile Milestones check you after rounds 3, 5 and 6. Being efficient is not enough: you have to be efficient at the right moment.
The dilemmaBuild the engine, or score now?
Does every game change? Yes: here is what.
meteorites
Three double-sided tiles, each with its own rule: one grants exclusive Expedition Cards, one free Projects, one rewards whoever has the most Presence around it at the end.
Expert action tiles
Two of four double-sided tiles are drawn: they decide what Pilots and Mechanics do in this game.
Experts from the bag
32 Experts and 16 Mission Coordinators; the hiring board is filled at random, and new columns open round by round.
revealed as you play
Landscape tiles drawn at random, on a random side, and placed in temperature bands from the coast (−30°) to beyond the meteorite (−63°).
Station Sites
Shuffled into four face-down piles, plus your four personal sites.
cards in the common deck
84 Expedition and 70 Project cards, plus 18 Milestones drafted at the start: one personal and two common each game.
Arka: a real opponent, not a score to beat.
In many solo modes you play alone and compare a total at the end. Here Arka uses the same map, the same Experts and the same action spaces as you: every space she takes is a space you lose, for the whole game.
You set up as for a two-player game and play every phase as usual. Arka gets her own tableau, Explorers, Stations and Upgrades of one colour, and three Milestone cards of her own. You draw four common Milestones and choose three: an advantage only the solo player has.
Her deck of Action Cards is made of 9 base cards (one star) plus a number of harder cards that depends on the level you choose. She has no Energy and no Expedition Deck.
- She only plays the Action phase. No Preparation, no Planning: while you prepare, she waits.
- Her turn is one card. You reveal the top card of her deck and carry out its actions from top to bottom. If an action can't be done, her marker moves one step on her rondel instead.
- A rondel moves her engine. Most cards start by moving a marker on the rondel in the middle of her tableau, and she gains everything it passes: when it crosses the Investor space she draws cards from the common deck (worth only their points at the end), when it crosses the Radio space she advances on the Expedition track.
- Stars set her pace. Each card shows stars; she keeps playing cards until she reaches three stars in the round, then passes. Further along her Expedition path she moves up to four stars per round.
Her actions come with written choice rules, so you never have to guess what she would do:
- Hires Expertsthe leftmost Engineer, Investor or Radio Operator, or the uppermost available Expert from the left; if none is left, a Mission Coordinator.
- Occupies action spaceson the area with the most free spaces (the coldest on a tie), or on the space with the highest coin reward. She doesn't do the action: she just takes the space away from you.
- Exploresthe next unexplored area of the map, like you would.
- Builds Stationsnext to the coldest area, touching as many areas as possible, on the coldest Station Site available.
- Uses her Milestonesby doing the special action printed on her next Milestone card, or on all of the ones she hasn't scored yet.
- Experts2 points for each 4th and 5th Expert in a column, like you.
- Upgrades4 points for each upgrade she builds.
- Expedition track1 point per step she has advanced.
- Cardsthe points printed on the cards she drew with the rondel (Projects with an end-game effect always score their lower value).
- Milestonesscored after rounds 3, 5 and 6, from left to right. She always meets the lower condition; to take the higher points she must beat you on that condition.
Cards without a star cost her nothing against her star limit, so every extra card is an extra action in the round: that's what makes her harder.
Honestly: is it a game for your table?
You'll love it if…
- you enjoy Alexander Pfister's euros (Great Western Trail, Maracaibo): an engine that grows and choices that interlock
- you like push-your-luck inside a heavy game, where the risk is calculated, not blind
- you often play in two: BGG players name 2 as the best count
- you want a solo mode with a real bot and three difficulty levels
Skip it if…
- you want direct conflict: here you block spaces and areas, you never attack
- you rarely have 2–3 hours for a game
- your group suffers long thinks: in the Action phase every move matters
- you need Italian components: it's the English edition (little text, icons with a reference sheet)
First game: in two, with the setup the rulebook suggests.
Use the −60.2° meteorite and the Expert action tiles shown in the setup: they are the ones recommended for a first game. And give the Preparation phase all your attention: it is where the rest of the round is decided, because what you cash in there pays for everything you do afterwards.
What expert players ask
What kind of game is -60° Sixty Below?
A heavy euro by Alexander Pfister and Peter Prinz (Nanox Games, 2026) for 1 to 4 players, 120–180 minutes, weight 3.7 out of 5 on BoardGameGeek. Over six rounds you prepare expeditions with a personal deck you push your luck with, place Explorers that stay on the board for the whole game, build and upgrade a network of Stations on a map revealed as you play, and score Milestones after rounds 3, 5 and 6.
How does the Preparation phase work?
You draw from your personal deck one card at a time. Expedition Cards go into a row on your tableau; Storms cover one of your three Bases (Investors, Radio, Hangar). After each card you choose to stop or draw again; a card with nowhere to go is discarded and ends your drawing. Then you gain Energy from Storms (2 with one, 5 with two, 11 with three or more), the top bonus of your Expedition Cards with 0–1 Storms or the bottom one with 2 (none with 3 or more), and the bonus of each uncovered Base.
What makes it deep?
Five tensions at once: Storms that give Energy but switch off Bases and cards; Explorers that never return, so every action closes a space for the whole game; Station upgrades that need nearby Presence but lose 3 points when two of your upgraded Stations touch; an Experts engine that pays off only if built early; and timing, because buying cards costs an action while Milestones check you after rounds 3, 5 and 6.
Which mechanics does it use?
A push-your-luck deckbuilder (your personal Expedition Deck) and worker placement where workers stay on the board for the whole game. Around them: hex tile placement to build a network of Stations, an engine of Experts in three columns, Milestone goals scored three times, and end-game bonuses from nine sources. BGG lists Deck Building, Push Your Luck, Worker Placement, Hand Management, End Game Bonuses and Solo.
How much does luck matter?
Medium-low, and it can be controlled. Luck lies in the order of your personal deck and in the cards you draw from the common deck. But you always know how many Storms are left in your deck, the Expedition Cards you buy go on top of it, a Forecast tile lets you throw away a card without ending your draw, and some upgrades let you burn Storms for good. There are no dice.
How does it scale with 3 and 4 players?
The map and the Experts board adapt to the number of players, and the Milestones are drafted from a pool that grows with the players. With more players, action spaces fill up faster, since every Explorer stays where it is placed. Preparation and Planning are simultaneous, so waiting only happens in the Action phase. BGG players name 2 as the best count.
Is it replayable?
Yes: 6 meteorites with different rules, 2 of 4 double-sided Expert action tiles, 48 Experts drawn at random from a bag, landscape tiles drawn at random on random sides, 24 Station Sites in face-down piles, a 154-card common deck and 18 Milestones drafted at the start.
How does the solo mode work?
You play against Arka, a bot that only plays the Action phase: each turn you reveal one of her Action Cards and carry it out, a rondel moves her engine, and stars limit how many cards she plays per round. There are three difficulty levels: Standard, Legendary and Epic. Her Explorers occupy spaces for good, like yours.
How many players is it best with?
It plays 1 to 4. On BoardGameGeek the best player count indicated by the community is 2.
Is there player interaction?
Indirect but constant: Explorers occupy action spaces for the rest of the game, the map and the Station Sites are shared, and some meteorites reward whoever has the most Presence around them. There is no direct attack.
Which language is it in?
This is the English edition. BoardGameGeek rates its language dependence as low: some necessary text, easily memorized or covered by a small reference sheet; most effects are shown with icons.
How long does a game take?
120 to 180 minutes; it always lasts six rounds.
When does it ship?
It's in pre-order: we ship as soon as it lands in our warehouse.
Six rounds. Minus sixty degrees. One team goes down in history.
In the box: 4 two-layer tableaus, 140 RE-Wood miniatures, 240 cards, 70+ board pieces, 250+ tokens, a cloth bag.